Creating composits in Photoshop is time consuming but incredibly rewarding work.
Compositing stretches your skills beyond photography and retouching into more artistic areas that will challenge you to create whatever you can dream up and are able to achieve in Photoshop.
From a toy photography perspective, there are primarily two styles of composits that you can create.
The first style is completely realistic composits, where the objective is to make the viewer believe the final work is a seamless whole. Essentially, you don't want anyone to think Photoshop was involved, or at least make them think any fantasy elements looks believable (I'm looking at you terrible Lightsaber effects).
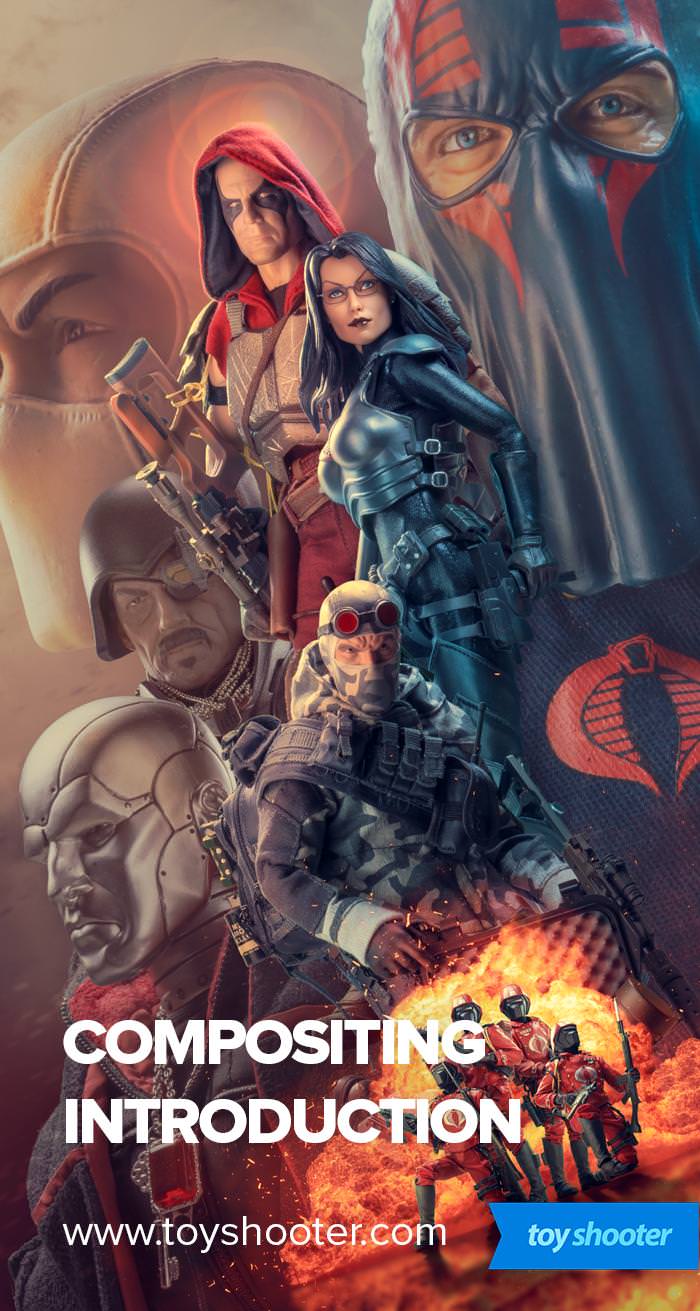
The second style is more the montage or "movie poster" composit you've seen me publish:

I like this style because it lends itself very well to toy photography where multiple characters are involved, and has less demands on you to get perspective, motivated lighting and overall realism right.
What I do strive to do is create cohesive works that integrate each element in a "harmonious" way. This is really where the challenge lies; going from a bunch of different photos you've taken lumped together to something greater than the sum of its parts.
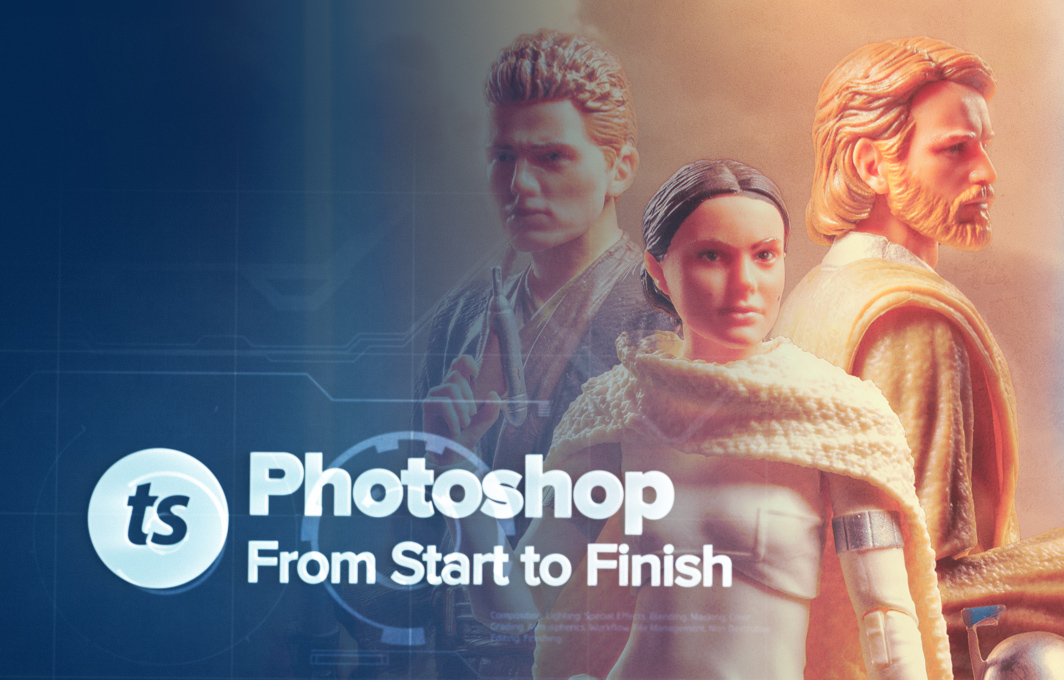
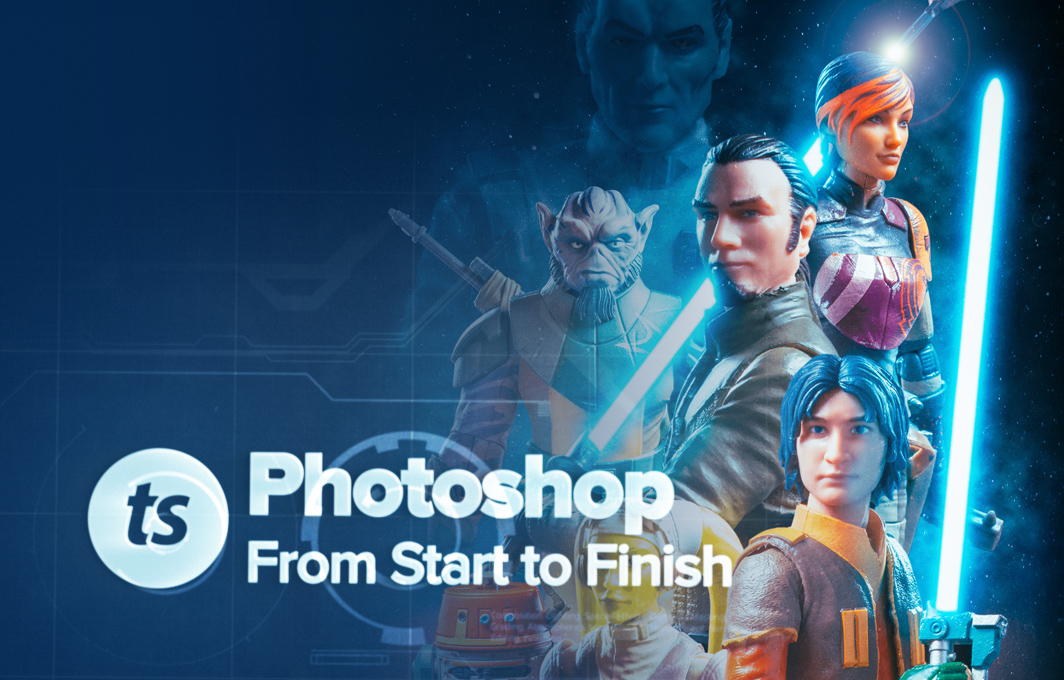
From this, to this -

Here are the broad steps I take in creating a composit ...
1. Green Screen Shoot
Composits start with material to work with, and for this I'm usually just thinking in terms of a brand or toy line I want to create a piece with.
Whatever I pick, I'll setup a green screen shoot on my desk and rotate figures through the setup pretty rapidly, making minor tweaks to lighting, flagging and fill as needed.
This is not like normal Toy Photography where I might create a scene and light it, building the final shot up in the camera - it's much easier, and most of the time every figure will get a similar style of lighting. I don't bother with gels or color because all of that can be done in Photoshop, and I do so much work to change the tonality of the pictures it's better to shoot with standard white lighting.
In the case of the Batman shoot, I've got 40+ Arkham figures so I shoot them all, and usually in different poses to I have plenty of options to work with.

2. Green Screen Extraction
Next is getting all the shots processed and extracted from the green screen.
I give all the shots a basic treatment in Lightroom, the each one goes into Photoshop for extraction.
Dealing with green screen entails three stages:
1. Cutting the figure from the background and defringing the edges
2. Correcting and green color reflections left on the figure
3. Dealing with any transparent or opaque areas that standard Photoshop extraction tools can't handle
Needless to say, this is a chore and can take ages if you don't know what you're doing.
I've gone through many tutorials on Youtube on green screen (most of which are bullshit) and know some techniques from more professional training, but I've developed some tricks of my own that allow me to get a photo extracted flawlessly within about 3 minutes.
When you're working with hundreds of shots, it's important you can get extractions done quickly and a high quality standard.

This is laborious, cookie cutter work but I slave through it because it gets me a big library or images I can easily just drop into a new Photoshop document and start moving around. This way, I'm freed up creatively to try lots of things out without getting slowed down by extraction each time I want an image - better to do the whole lot in a batch, then enjoy the rapid workflow that comes after.
3. Composition
This part is quite simply, a jigsaw puzzle.
I usually have no idea what I am going to create even at this stage!
I don't sketch in advance or pre-plan, though some of the shots and characters may put ideas in my mind of where I want to take things.
I drag everything I want on screen, and start resizing. I'll usually convert all the extractions to Smart Objects in Photoshop so any resizing I do doesn't affect the resolution if I change my mind later.
It's important to note at this stage even if I come up with an arrangement that's starting to work, I'm not usually confident in how things look. It's really what happens after this stage that takes things from a bunch of characters thrown together to something decent.

4. Layering and Tonal Composition
Here I will start to play with contrast, hue and saturation to adjust the composition of the characters I've laid out.
This is about deciding where I want you as a viewer to look, what's important in the picture and what's not.
I'll make big color adjustments to unify parts of the scene and start to make things appear more cohesive.

5. Effects
Now I'll add special effects - particles, smoke and other things, along with retouching the whole work with some dodging and burning - this further integrates the separate characters and really makes them gel.

6. Grading
The final major step is color grading, and I've told a bit of a fib - I usually set this up quite early on while I'm arranging the pieces. It can really help to see something close to the final grade to guide you as to where things will looks right.
Still, this early grade is just that - a quick application that I will tweak substantially once I'm done and at this final stage.
Getting Started With Compositing
Hopefully you've enjoyed this introduction to compositing - really just a primer on the steps involved.
Needless to say, there is much more detail to the techniques involved in pulling this kind of work off, which I'll be providing more information on in the weeks ahead.