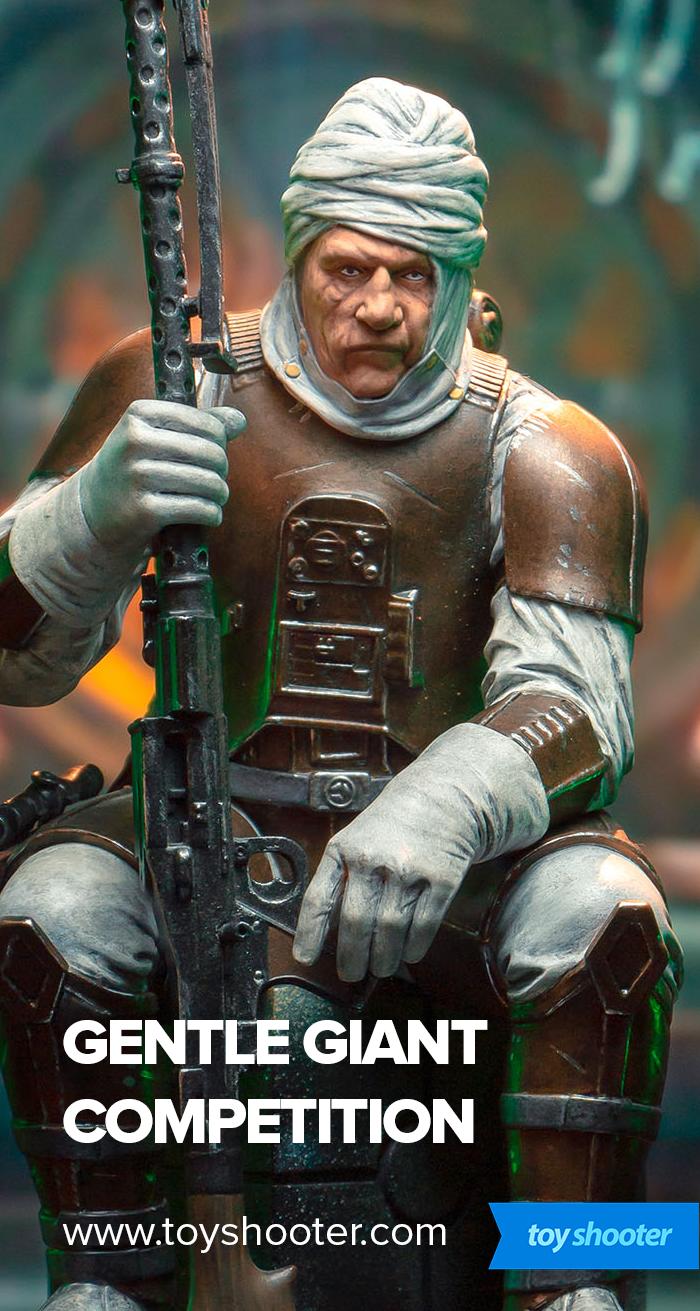
Gentle Giant Ltd. have just launched a big photography contest - and I'm judging the winners!
If you're new here on ToyShooter, I'm Chris and I do product photography for Gentle Giant Ltd. that you've probably seen on their website and social media channels.
I've been involved in setting up the competition and one thing we wanted to ensure was that everybody could enter the competition and have a chance of winning regardless of skill level or how "good" their camera equipment is.
In this post, I'm going to give you some tips and things to think about if you're planning on entering.
1. Practice Safe Shots
First up, it's really important your photography ideas are safe to implement and won't risk damaging your collectibles.
I've taken photos of pieces for years, and so unfortunately I've occasionally had accidents where a badly balanced prop or lighting has fallen over and damaged a piece forever - not the kind of mistake you want to repeat.
Likewise if you're thinking about taking a photo in certain environments like sunlight, smoke, liquid or harsh temperatures be aware these will affect your piece under prolonged exposure - especially sunlight.
A lot of Gentle Giant's pieces have really delicate, intricate features so it's important you take care to safeguard your pieces while you're working on a shot.
2. Photography basics
This contest is going to be all about creativity, but I'll be looking for shots that have some basic photography principles applied:
a. Focus - most important is shots are in focus. Check your picture and if it's blurred or fuzzy, stabilise your camera and shoot again. If you're not confident with manual focus, use automatic - it will be fine. The most common reason shots end up out of focus is a lack of ....
b. Lighting - You've got lights everywhere in your home. Your cellphone, desktop lamp and even windows are the obvious source - without sufficient lighting photos quickly run in to trouble, whether that's grainy, dark results or the aforementioned focus issues.
c. Exposure - Even with good lighting you need to watch for over or underexposed shots. This should be obvious - too dark or too bright means your camera isn't figuring out what to do with the light conditions, which usually happens if you're using a non-automatic mode like aperture or shutter priority. If you're not confident in advanced camera modes, stay in automatic and let the camera do the work to figure out the best exposure for your scene.
3. Story
OK - now we can start talking about how to create a winning shot!
For me, the best photography tells a story, and with this competition I'll be judging entries primarily based on that criteria.
So what does "telling a story" mean in terms of photography?
Well, let's explore an example.
Here's an old shot I took of the Oola mini bust:

By itself, this is what I would call a very simple product shot. Well lit, in focus, but does nothing more than show the character.
One of the great things about Gentle Giant Ltd's pieces is they capture moments so well in the sculptures, you've got the starting point for a story in the expression of a face and the pose of the body.
So to take a blank shot like the Oola one above and create a story around it, think in three parts:
- Background
- Midground
- Foreground
Adding a background immediately 'places' your character in an environment that starts to tell the story. On her own, Oola could be dancing in a club or in a street festival, but as soon as you put a leering Jabba the Hutt behind her you start to realise she's a prisoner made to dance for a crime lord.
I shoot Gentle Giant Ltd's products against a huge 43 inch monitor that allows me to project backgrounds behind the pieces easily, but if you can't do something like that with a monitor or tablet think about other materials and objects you could use to create a background. Some of my favorite shots use kitchen utensils, garage junk and other household items to create an illusion.
Midground is where your character typically resides, and becomes the focal point in the picture. Where midground can get interesting is if you decide to introduce more than one character, which obviously means they are reacting to each other and that becomes the focal point and story in your piece. It's usually easier to add a secondary character in the foreground or background to add depth to your scene and especially in the case of the foreground, means your midground character has a foil/antagonist to react to.
Also important when thinking of midground is making sure your character(s) gel with the background. Are the lighting conditions the same? Have you used a scene with the sun setting in the left and the character lit from the right?
Think about the direction of light in the scene, and add lighting accordingly - this is called motivated lighting.
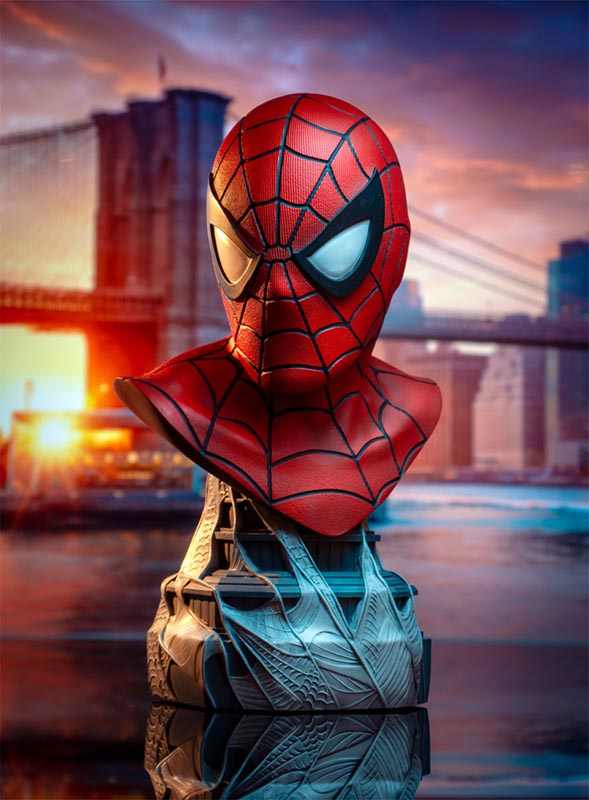
Here's an example of motivated lighting from one of my shoots. The sunset is part of the picture in the background, but the piece is deliberately lit with a warm light from the side to create the illusion that Spidey is part of that environment:
The last tier to think about is foreground.
With the product photography shots I do, I never use the foreground - for the simple reason that product shots are designed to show the full piece without any obstruction.
If you think about foreground like that - obstruction, it's an opportunity to add further elements to your shot that add to the story and completely change the dynamic of the shot.
One example of this is framing. You could put your character in a doorway or through a window that adds a sense of depth to the shot, making the viewer feel like they're looking through the scene rather than just looking "at" something.
Another trick that can really add suspense to a shot is to put a weapon in the foreground that immediately communicates a threat to your character in the midground. It doesn't need to be in focus - as long as it's clear enough to tell what it is, the effect works.
So, going back to my Oola shot from above, here's an example of all those elements pulled together:
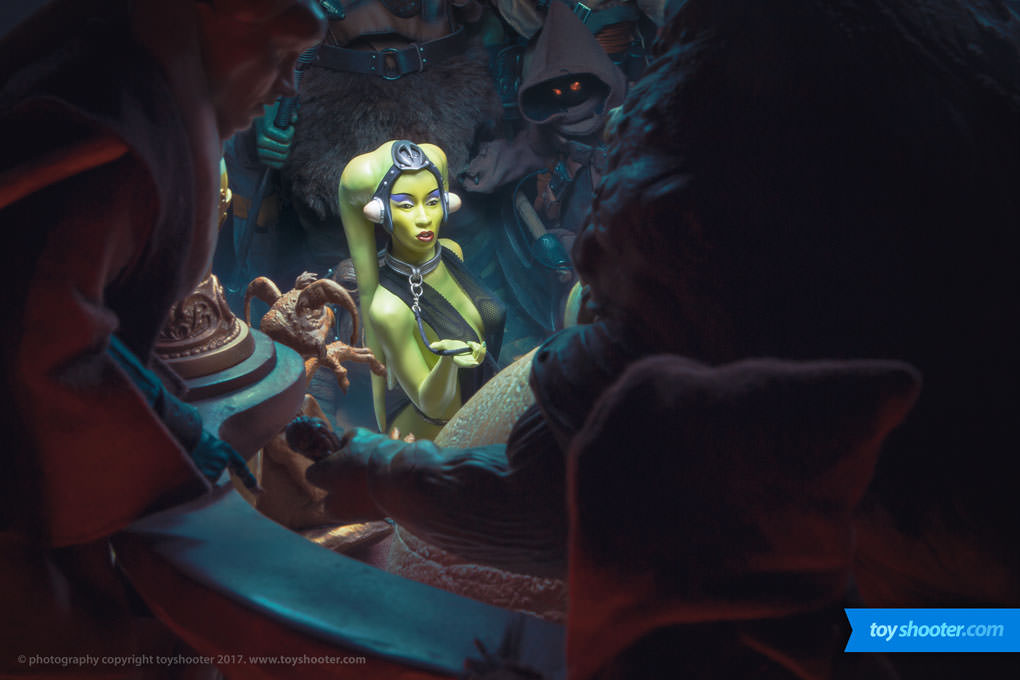
With this shot, I'm using lots of other characters as both the background and foreground.
The characters in the background create an ominous sense of fear in Jabba's den, then in this shot I use Jabba and Bib as the foreground elements to both frame Oola and add information so you the viewer start to feel like you're looking just over Jabba's shoulder, drawing you into the shot.
You don't need to attempt something as complex as this - there are much simpler ideas that will work just as well.
I'm looking for originality as well, so don't copy my shots if you want to stand out!
4. Creativity
Over the years I've seen some people innovate and do some really clever things with toy and collectable photography:
- Using lasers to illuminate light sabers
- Using glass sheets to create ghost reflections from iPads
- Vapes as miniature smoke machines
And technique-based ideas like those are even before I think about the many inventive, clever ways people have staged characters and scenes to sell an illusion through photography.
Think about your character, think about what they would be doing and try things out - very few of my shots in my gallery are the result of a single shot - there's a lot of trial and error to arrive at a finished piece I'm happy with, so my advice is try a few ideas out and don't be afraid to re-attempt things if they don't work out on your first try.
5. Realism
The final aspect to think about is realism.
For me that simply means making me believe I'm looking at a real scene from a movie or comic book, brought to life by careful photography work.
It's not the most important aspect of the competition, but look at your scene and think about these things:
- Does the lighting match across the scene?
- Does the background blend with the piece seamlessly?
- Have you concealed parts like bust bases to make the shot more believable?
- Are things visible in shot (stands, lights) that ruin the illusion?
Once again, I'm more interested in how imaginative your shots are than realism, but try to keep things realistic
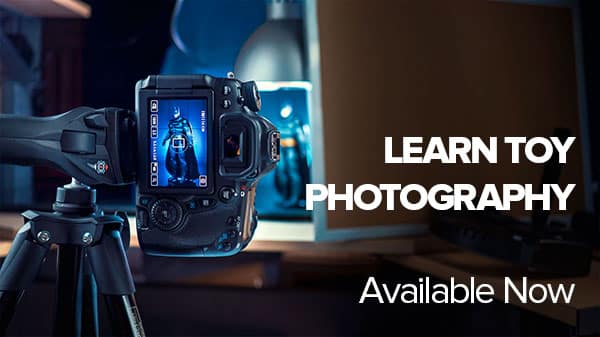
Further resources
There's a whole bunch of resources on the website here that can help you improve your photography.
- Browse through other posts in my blog for more tips and techniques.
- I've got a whole bunch of tutorial videos on youtube that will keep you busy for hours.
- Check out my full gallery to see more of my work.
- Join my newsletter below for more tips and tricks via email.
Lastly, I have a full toy photography course with a range of price points. The WINNERS of the Gentle Giant Ltd. contest will also receive this course as part of the prize package!
If you are interested in the course, I'm going to suggest you hold off on purchasing for now, there may be a surprise coming up after the contest ;)
Good luck!