In this article, you'll learn a technique to dramatically improve the photo quality of any camera - even a smart phone.
Let's start with the caveats - this will only work for still photography, which Toy Photography suits very well, and you'll need Photoshop or some other 3rd party software to complete the process here.
Before we get into it, some background ...
What's The Difference Between a $100 camera and a $5000 camera?
Features, bells and whistles aside; the primary thing you pay for in a camera body is sensor quality
That shiny little square behind the lens gets electricity shunted through it when you take a picture, and it reacts to whatever light photons are hitting it (your scene) then captures an image.
The problem is that electrical signal introduces noise - you can see this on older, cheaper cameras and smart phones that have an ugly, digital grain all over them. It's also more prevalent in low light situations where in auto mode, your camera will compensate for the lack of light by shunting more electricity through the sensor to make it more sensitive to the lower light levels. This is effectively what your ISO control does - the higher it goes, the brighter your exposure, but that gain comes with more and more noise.
Even if you shoot a long exposure with a very low ISO (all my shots are ISO 100 or 200) - you'll still see traces of noise in the shadows and midtones when you examine the photo.
This is one of the reasons why full frame cameras are more expensive than APS or cropped sensor bodies - the pixels in the sensor are simply bigger, better quality and perform better.
When you think about how small the sensors are in smart phones, you can understand why they don't hold up to pictures taken with good digital cameras. That said, Apple and others have done incredible work with their sensor performance.
So, how can you take a cheaper camera - even an old iphone - and turn it's sensor into a $5000 full frame equivalent?
The answer, is exposure stacking.
The Law of Averages
Exposure stacking is popular in astral photography - one of the most challenging styles of photography you can attempt - a medium that usually requires very long exposures of the night sky to capture far away nebulas and star systems.
Those long exposures create the same digital noise imprints you see in any type of photography, but also suffer from atmospheric noise.
Noise Reduction algorithms in cameras and software do a good job, but will only get you so far - apply too much and you start to get a mushy, clearly altered photo.
Exposure stacking offers a solution to this by simply taking multiple photos (exposures) and combining them to reduce the impact of noise in each. Since noise is random, an ugly spec in one shot isn't likely to reappear in the next nine shots, so taking the color average of that area across ten shots reduces it's effect significantly. Across the whole image, this will virtually eliminate all noise leaving you with a pristine, noise free image.
To get started with this technique - you need to be setup to take multiple shots of EXACTLY the same scene. If you're dealing with moving parts - this technique isn't going to work. Additionally, you'll need rock solid stabilisation for your camera (tripod) to ensure it doesn't move between exposures. The slightest nudge or change can cause problems - Photoshop can automatically align the series of photos, but don't aim to rely on this. The best results are with photos that are carbon copies of each other in every aspect but noise.
Think about how you'll trigger the photos - for DSLR's there are plenty of options - cable release, IR remote, Wi Fi based smart phone apps - all of which prevent you having to physically touch the camera and potentially move it. For cheaper cameras and smartphones, I would want a very heavy tripod / clamp that take some force to move - you'll have to figure these aspects out yourself.
How many photos do I take?
In short, the more the better - but with that comes work. I get great results with 5-6 photos, you'll get even better with say 12, but the improvements will start to diminish more and more the higher you go.
My recommendation is to decide on how many shots you take in relation to the quality of your camera and scene lighting.
For my camera, the 5-6 range is suitable for most shots. For my iphone, I would go for 10 or more if I were using that.
Scene lighting will also influence my decision - 5-6 for a well lit scene, but if I'm shooting a long exposure shot (like the saber shot below) - I'm going to take more because I know the shots will have more noise.
Software Treatment
With my shots on the computer, I load them up in Lightroom and work on one of the shots to develop it to a point I'm happy with. Usually recovering highlights and shadows, adjusting exposure if necessary and importantly - applying less noise reduction than I typically would for one shot. I'm happy for Lightroom to do a little work cleaning up the image, but we're here to let the exposure stacking do the work and leave our photo detail intact.
With the first shot finished, I copy all the settings onto the other photos in the series so they are identical, then export the whole series to PSD.
In Photoshop, go to File > Scripts > Load Files Into Stack
In the dialog window, find your exported PSD's and make sure you select "Automatically align layers"
Photoshop will then load all the PSD's into a new document on separate layers, and potentially rotate / tweak certain shots to fix alignment issues. If this happens, you may notice a transparent edge appear on the document you'll need to crop in to elimenate - another reason to get this right in camera.
Setting Up the Exposure Stack
There are two ways of doing this - an automated way in newer versions of Photoshop, and a manual way.
The automated option involves these steps:
1. Select all of the layers in the layers panel, right click the selection and select "Convert to Smart Object" - this will take a while, sit back and wait.
2. With the new Smart Object layer selected, in the menu go to Layer > Smart Objects > Stack Mode and then select Mean or Median. Again, this will take some time.
This does the averaging across the layers embedded in your smart object and you'll see the output once finished.
The problem I know a lot of people have with this approach is for a lot of you, the Stack Mode option will be greyed out!
Search Google and you'll find plenty of people complaining about this - it appears to be a bug with Photoshop.
The other problem with the automated (Stack Mode) approach is if there are problems with any of your layers, it's hard to figure out why.
So, although slightly more work, I prefer the manual approach.
All this entails is applying different opacities to each of your layers so each one holds an equal level of visibility once you're finished.
This requires a bit of maths, which I've done for you below.
Start with the lowest (deepest) layer, which you should leave at 100% opacity. For each layer on top of this, you'll set the opacity to 1/the layer number, as follows:
1/1 = 100%
1/2 = 50%
1/3 = 33%
1/4 = 25%
1/5 = 20%
1/6 = 16%
and so on
You'll need to apply rounding as you go up the layers - no big deal.
As soon as you've applied the opacity on the highest visible layer, the results of this effect will pop into view.
As a comparison, if you zoom in at 100%, then go back to your first layer, hold ALT down and click the layer visibility eye, you can toggle between seeing the noise on just that photo and the reduced noise across the stack.
The difference should be striking, and the sharpness and detail of your photo will now pop out through the noise.
What you may find is the shot looks blurry - this might be because one or two of your layers are mis-aligned due to a camera nudge or Photoshop mucking up the alignment. In this scenario, I toggle the layer visibility of each shot on one by one until I find the culprit(s), then simply delete the layers and go with one or two less photos. If you really mess up you'll probably need to go back and shoot again.
Once finished, select all the layers and press CTRL+E to combine them - there's no value in keeping them separate now so you can save the document and continue work on the photo as you see fit.
Here's an example of a shot I've applied Exposure stacking on, cropped in at 100%.
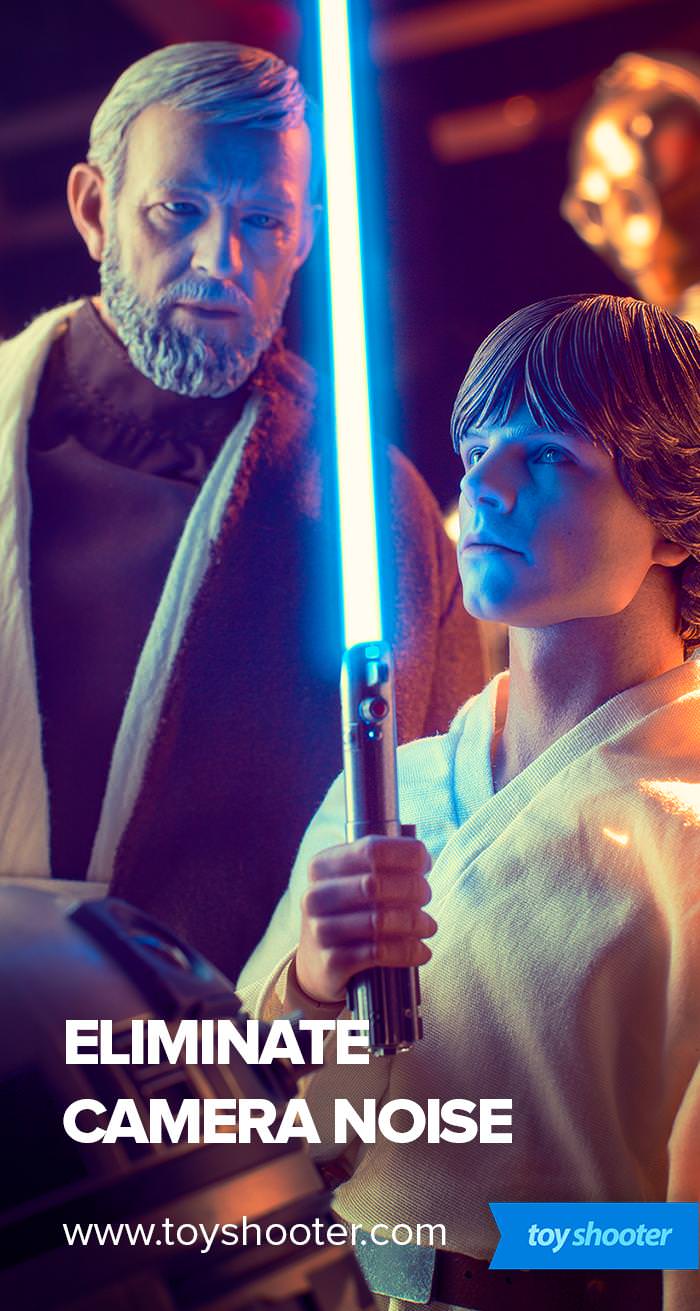
This was a 20 second exposure at ISO 100, the only light in the room being the blue LED illuminating Luke's small Lightsaber, hence the long exposure needed to capture the impact of that light on the characters.
As a result of the low light and 20 second exposure, it's noisy as hell at 100% (left).

I took the same shot just three more times and exposure stacked them, the results of which are on the right. Look at details like his iris and eyebrows - zero loss of detail and the noise is massively reduced.
I shot this again with six exposures and the results were even better. As I explained earlier, a dark shot like this with ten or more exposures would virtually eliminate the noise all together.
Try Exposure Stacking!
If you're aiming for high print quality, shooting low light or just want to improve the quality of shots coming out of your camera, give exposure stacking a try.
This will probably add a few minutes to your workflow, but the results are the same kind of photos you'd get by spending an extra $1000 or more on a new camera.
If you found this article helpful, join our newsletter using the link below to get more Photography and Photoshop tips in your inbox.


